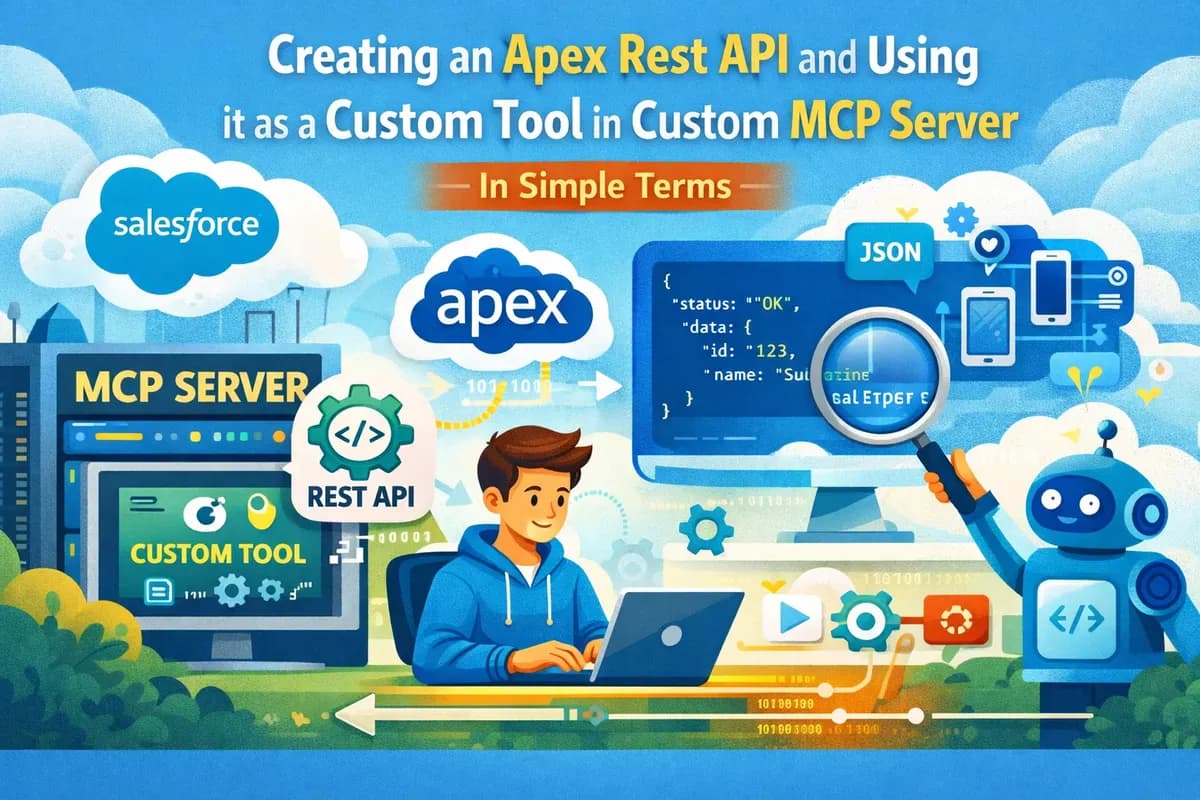
Creating an Apex Rest API and using it as a custom tool in custom mcp server
🛠 Prerequisites
- A Salesforce Account (Developer Edition or Sandbox recommended).
- Postman installed on your machine.
- Basic understanding of REST APIs.
Here is an end-to-end implementation that:
✅ Exposes a Salesforce custom REST API that returns object field metadata
✅ Calls it from your custom MCP stdio server (Node.js)
✅ Makes it available to Copilot Agent
This solution uses Apex REST for object describe and jsforce in your MCP server to authenticate & fetch the results.
1) Apex REST Endpoint (Salesforce)
Create this Apex class in your Salesforce org. It returns a list of field metadata (name, label, type) for any object.
Save as ObjectFieldsController.cls:
ObjectFieldsController.cls@RestResource(urlMapping='/ObjectFields/*') global with sharing class ObjectFieldsController { global class FieldInfo { public String name; public String label; public String type; } @HttpGet global static List<FieldInfo> getObjectFields() { String sObjectName = RestContext.request.requestURI.substring( RestContext.request.requestURI.lastIndexOf('/') + 1 ); if (String.isBlank(sObjectName)) { return new List<FieldInfo>(); } Map<String, Schema.SObjectField> fieldMap = Schema.getGlobalDescribe().get(sObjectName).getDescribe().fields.getMap(); List<FieldInfo> output = new List<FieldInfo>(); for (String key : fieldMap.keySet()) { Schema.DescribeFieldResult d = fieldMap.get(key).getDescribe(); FieldInfo info = new FieldInfo(); info.name = d.getName(); info.label = d.getLabel(); info.type = String.valueOf(d.getType()); output.add(info); } return output; } }
This returns an array of simple objects with field name, label, and type. Apex REST requires a concrete return type (not Object) so we define FieldInfo.
2) MCP Server (Node.js)
This is your MCP stdio server that Copilot can call.
Install Required Packages:
npm install mcp-use jsforce
server.js#!/usr/bin/env node
import { createMCPServer } from "mcp-use/server";
import jsforce from "jsforce";

// Salesforce connection info: set via environment variables
const {
  SF_LOGIN_URL,
  SF_USERNAME,
  SF_PASSWORD,
  SF_CLIENT_ID,
  SF_CLIENT_SECRET,
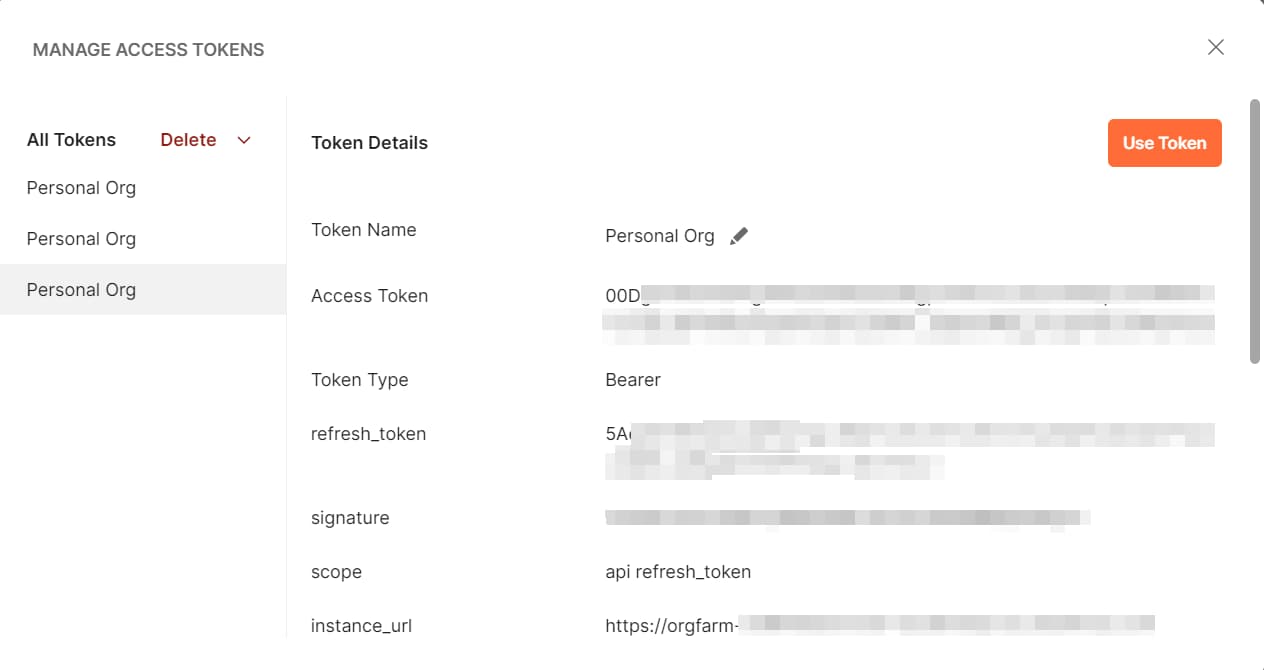
  SF_REFRESH_TOKEN
} = process.env;

// Define your custom tool
const tools = {
  getObjectFields: async ({ input }) => {
    try {
      const { objectName } = input;
      if (!objectName) {
        return {
          result: { error: "Input must include objectName" }
        };
      }

      const conn = new jsforce.Connection({
        loginUrl: SF_LOGIN_URL || "https://login.salesforce.com",
        clientId: SF_CLIENT_ID,
        clientSecret: SF_CLIENT_SECRET,
        refreshToken: SF_REFRESH_TOKEN
      });

      if (SF_REFRESH_TOKEN) {
        await conn.refreshToken(SF_REFRESH_TOKEN);
      } else {
        await conn.login(SF_USERNAME, SF_PASSWORD);
      }

      const result = await conn.apex.get(
        `/ObjectFields/${encodeURIComponent(objectName)}`
      );

      if (!Array.isArray(result)) {
        return {
          result: { error: "Unexpected response format from Salesforce" }
        };
      }

      const summary = `Object ${objectName} has ${result.length} fields: ` +
        result.map(f => `${f.name} (${f.type})`).join(", ");

      return {
        result: {
          text: summary,
          fields: result
        }
      };
    } catch (err) {
      return {
        result: {
          error: err.message
        }
      };
    }
  }
};

// Start stdio MCP server
createMCPServer({ tools });
// keep alive
setInterval(() => {}, 1e9);
3) Create a Connected App (Now External Client App) in Salesforce
This acts as the doorway for Postman to enter Salesforce.
-
Log in to Salesforce Setup (gear icon → Setup).
-
In Quick Find, search for App Manager.
-
Click New External Client App (top-right).
-
Fill in:
-
External Client App Name
-
API Name
-
Contact Email
-
-
Check Enable OAuth Settings.
- Set Callback URL (Use the standard Postman callback)
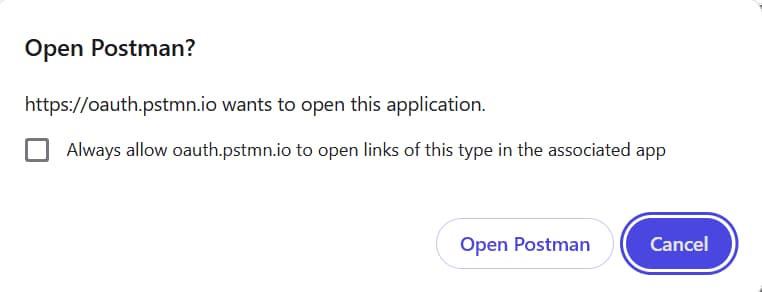
https://oauth.pstmn.io/v1/callback
- In Selected OAuth Scopes, add:
-
Access and manage your data (api)
-
Perform requests on your behalf at any time (refresh_token, offline_access)
-
These scopes let your app call Salesforce APIs and get a refresh token.
-
Save the external client app and wait ~10 minutes for it to fully propagate.
-
Once saved, open the app’s detail page.
-
Get SF_CLIENT_ID and SF_CLIENT_SECRET
On your external client app’s detail screen:
-
Consumer Key → this is your SF_CLIENT_ID
-
Consumer Secret → this is your SF_CLIENT_SECRET
Salesforce labels them Consumer Key and Consumer Secret respectively.
4) Set Environment Variables