Introduction
Apollo.io is a platform designed to make life easier for sales and marketing teams. It helps them find and connect with the right people, so they can focus on building real relationships instead of wasting time chasing dead ends.
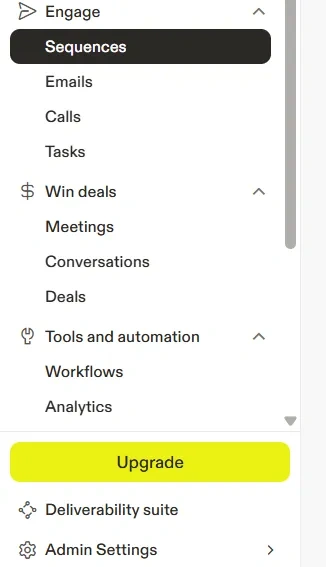
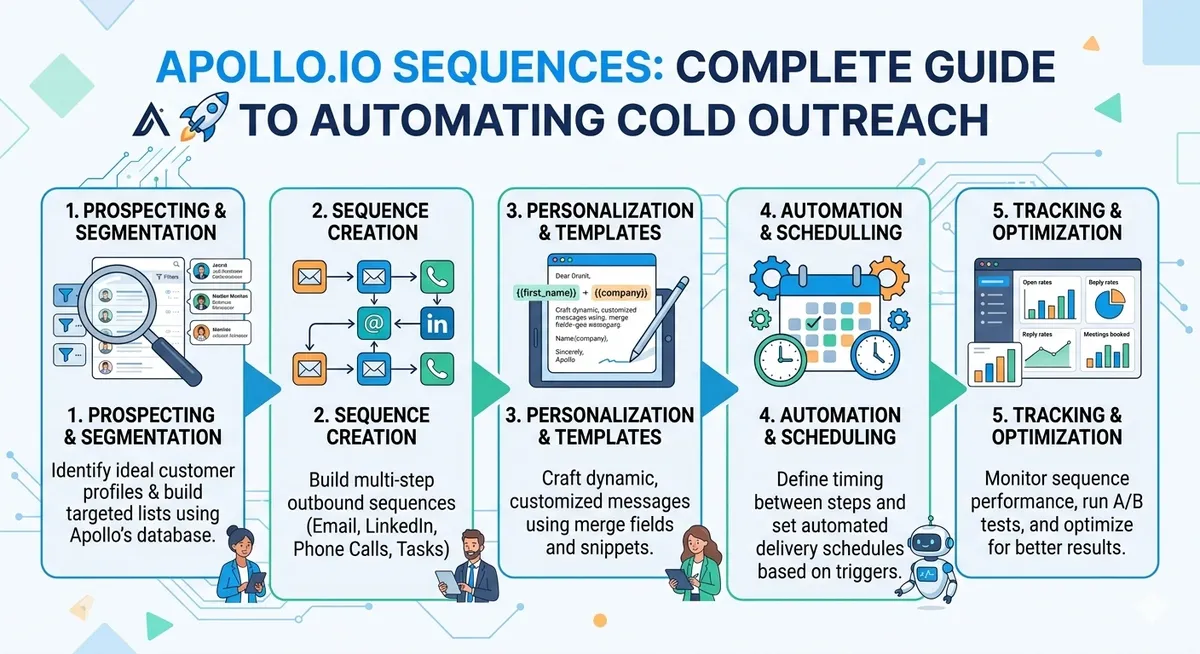
One of the most useful features inside Apollo is the Sequences tab. Think of it like a simple system that runs your outreach for you. It can send emails automatically, remind you to follow up, and keep everything moving without you having to juggle it all manually.
In this blog, I will explain the Apollo Sequences tab in detail, step by step, in a very simple and beginner-friendly way. This guide is helpful for anyone who is new to Apollo and wants to start automated outreach easily.
What is the Sequences in Apollo ?
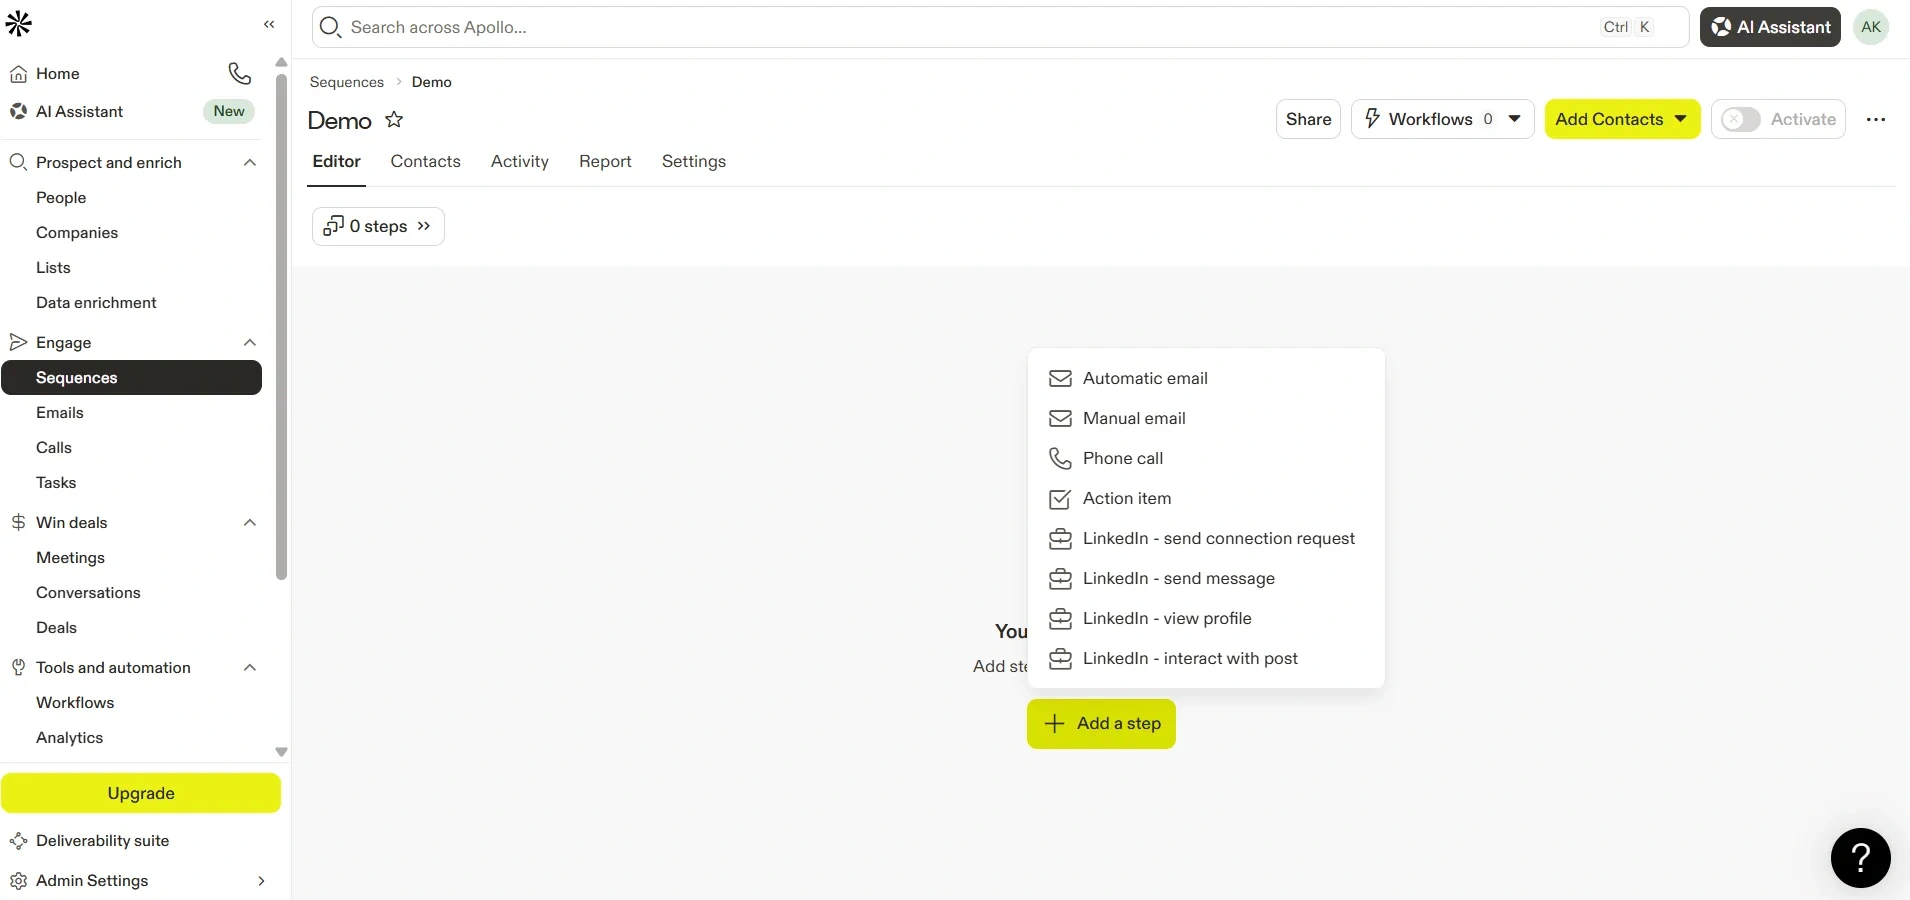
The Sequences in Apollo is basically your way of setting up an outreach autopilot. Instead of manually keeping track of every email, call, or LinkedIn message, you can build a sequence, a simple step‑by‑step workflow that runs automatically for your contacts.
A sequence is a series of steps that run automatically for your contacts.
- Automated emails
- Follow-up emails
- Manual tasks
- LinkedIn actions
- Time delays between actions
Why Use Sequences in Apollo?
-
Automate repetitive outreach work
-
Never forget follow-ups
-
Contact multiple leads at the same time
-
Maintain consistent messaging
-
Increase chances of replies
Find the Sequences Tab in Apollo
Step 1: Log in to the Apollo website using your login credentials
After logging in to the Apollo website, you will see the Sequences tab in the left-side navigation menu of the dashboard. Click on Sequences.
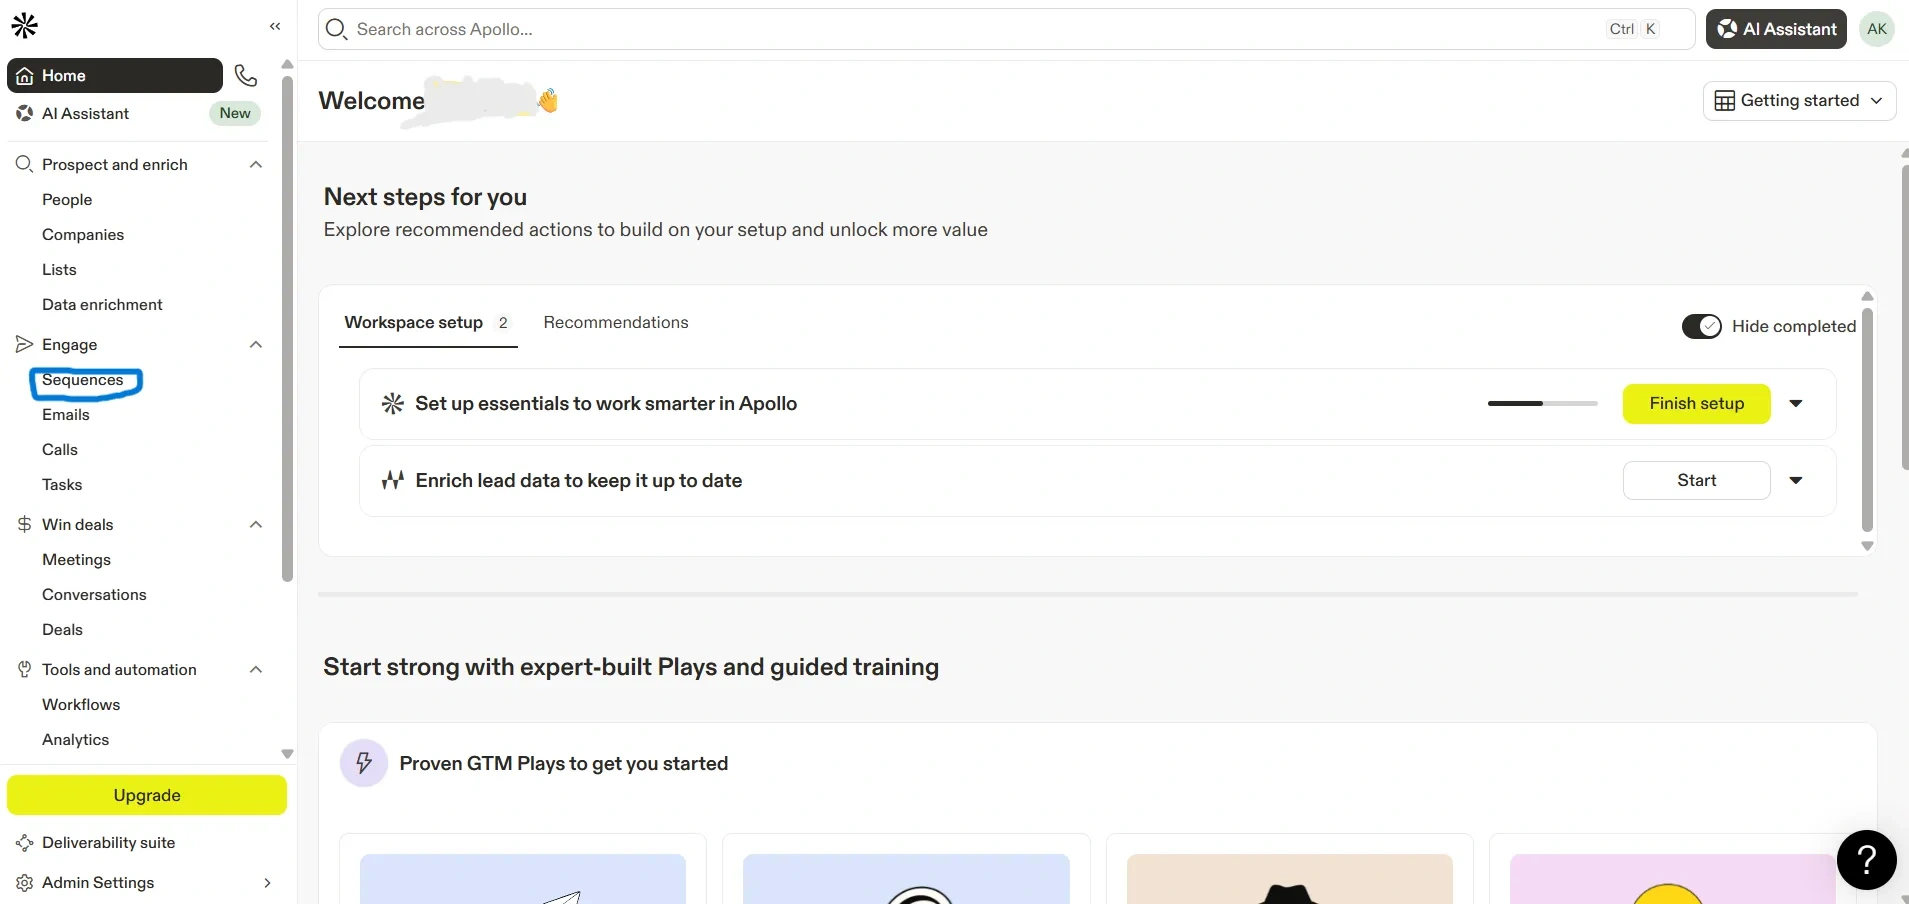
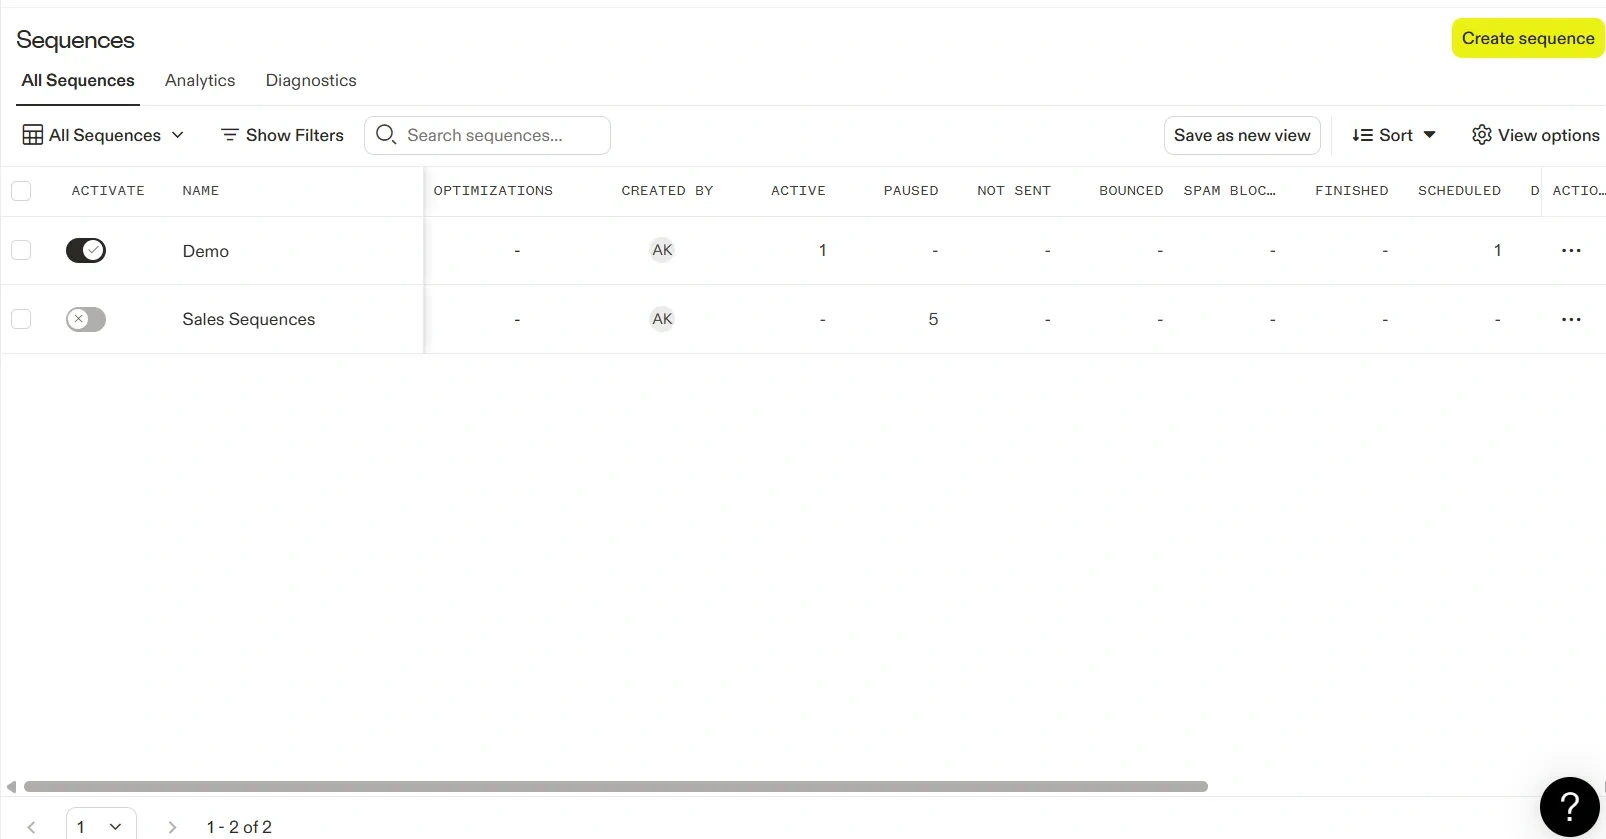
After click on Sequences, This will open the Sequences page, where you can , Create a new sequence, View existing sequences
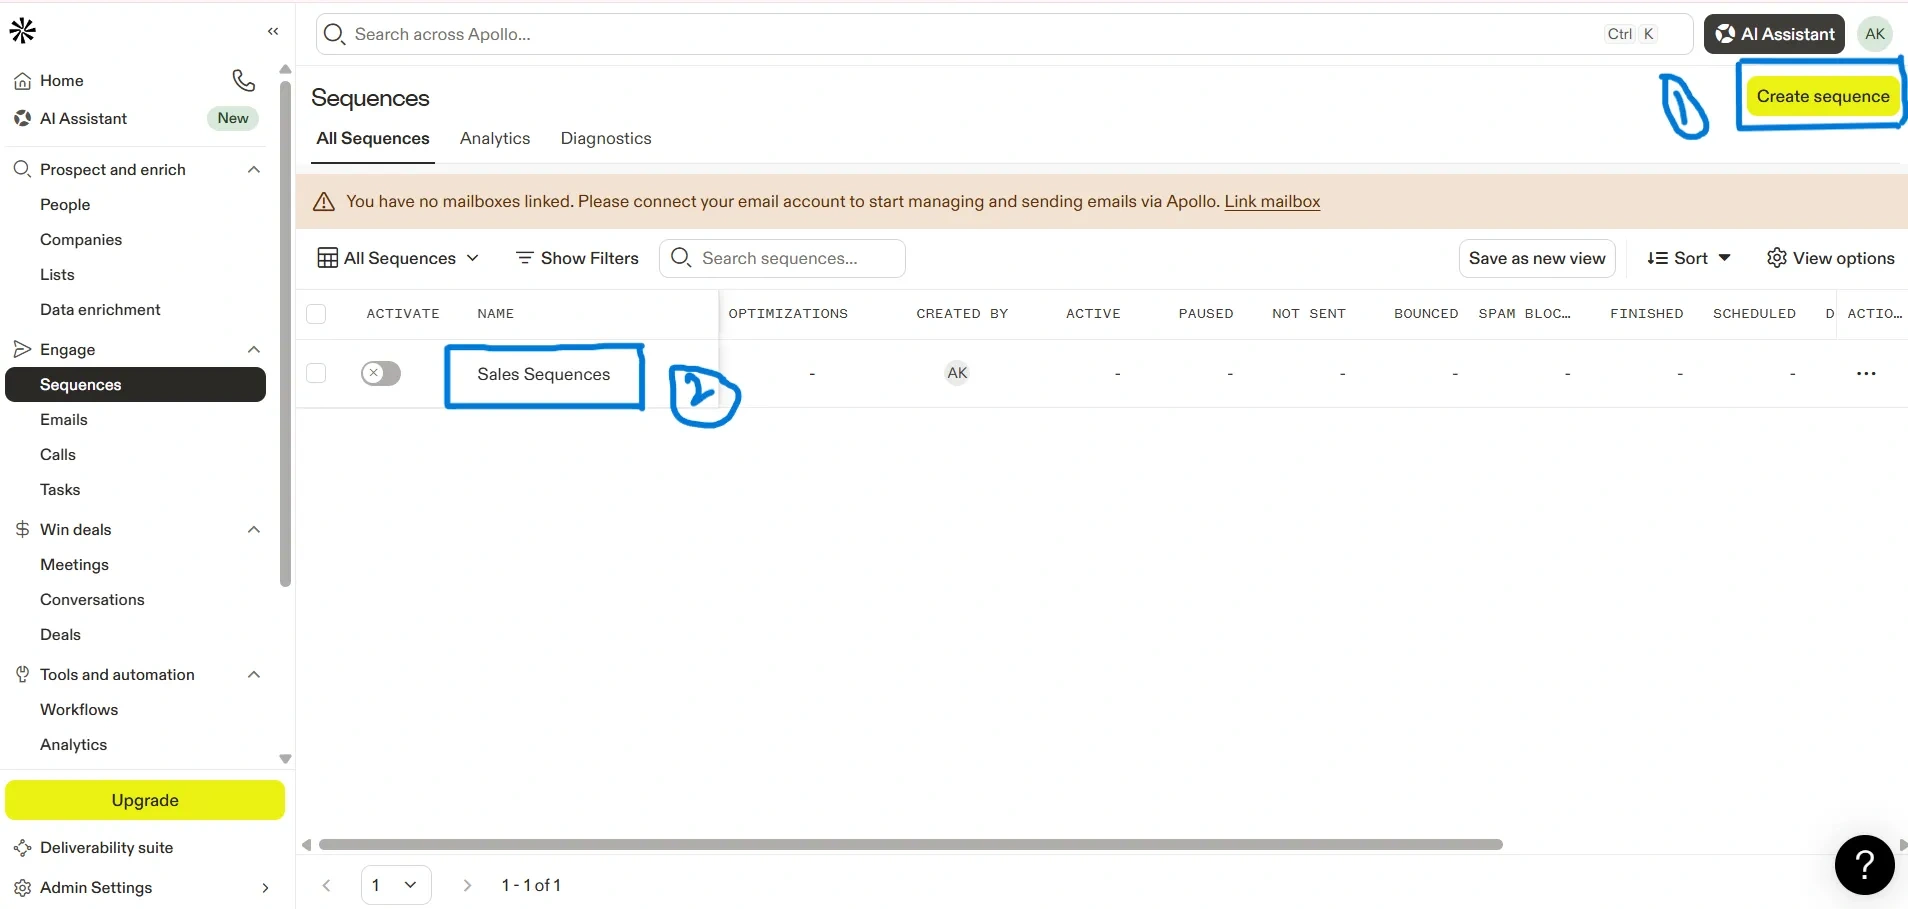
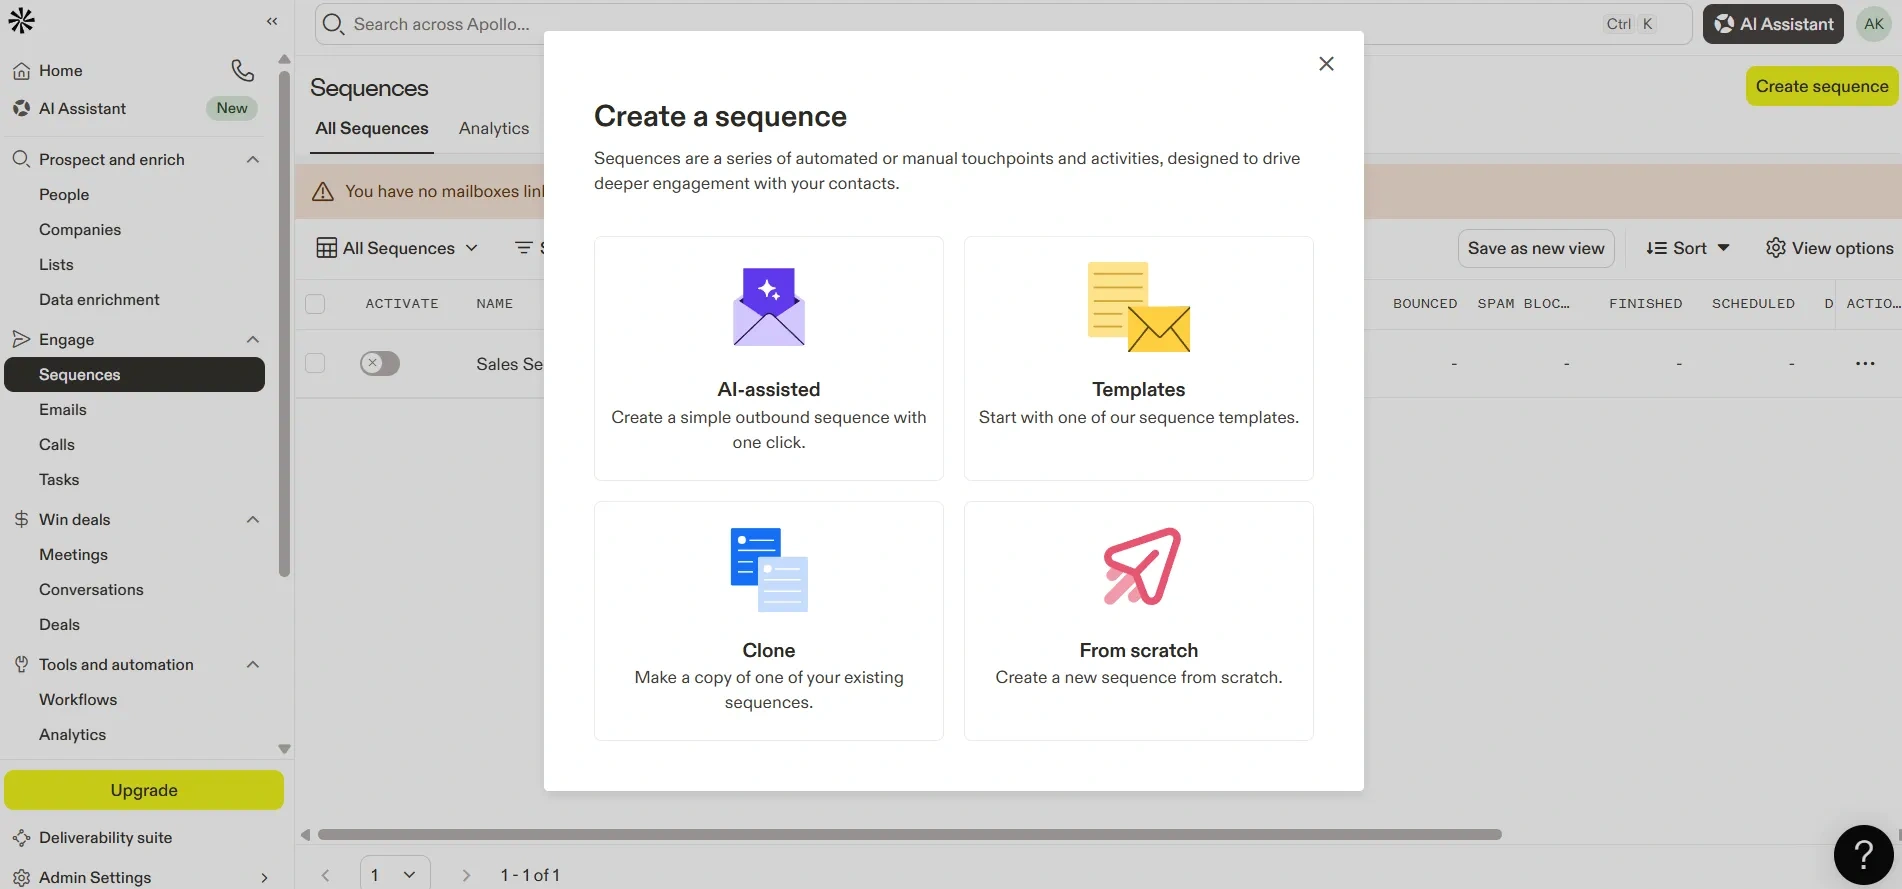
How to Create a New Sequence ?
Step 1: Click on Create Sequence
- Click Create Sequence.
- Select From Scratch.
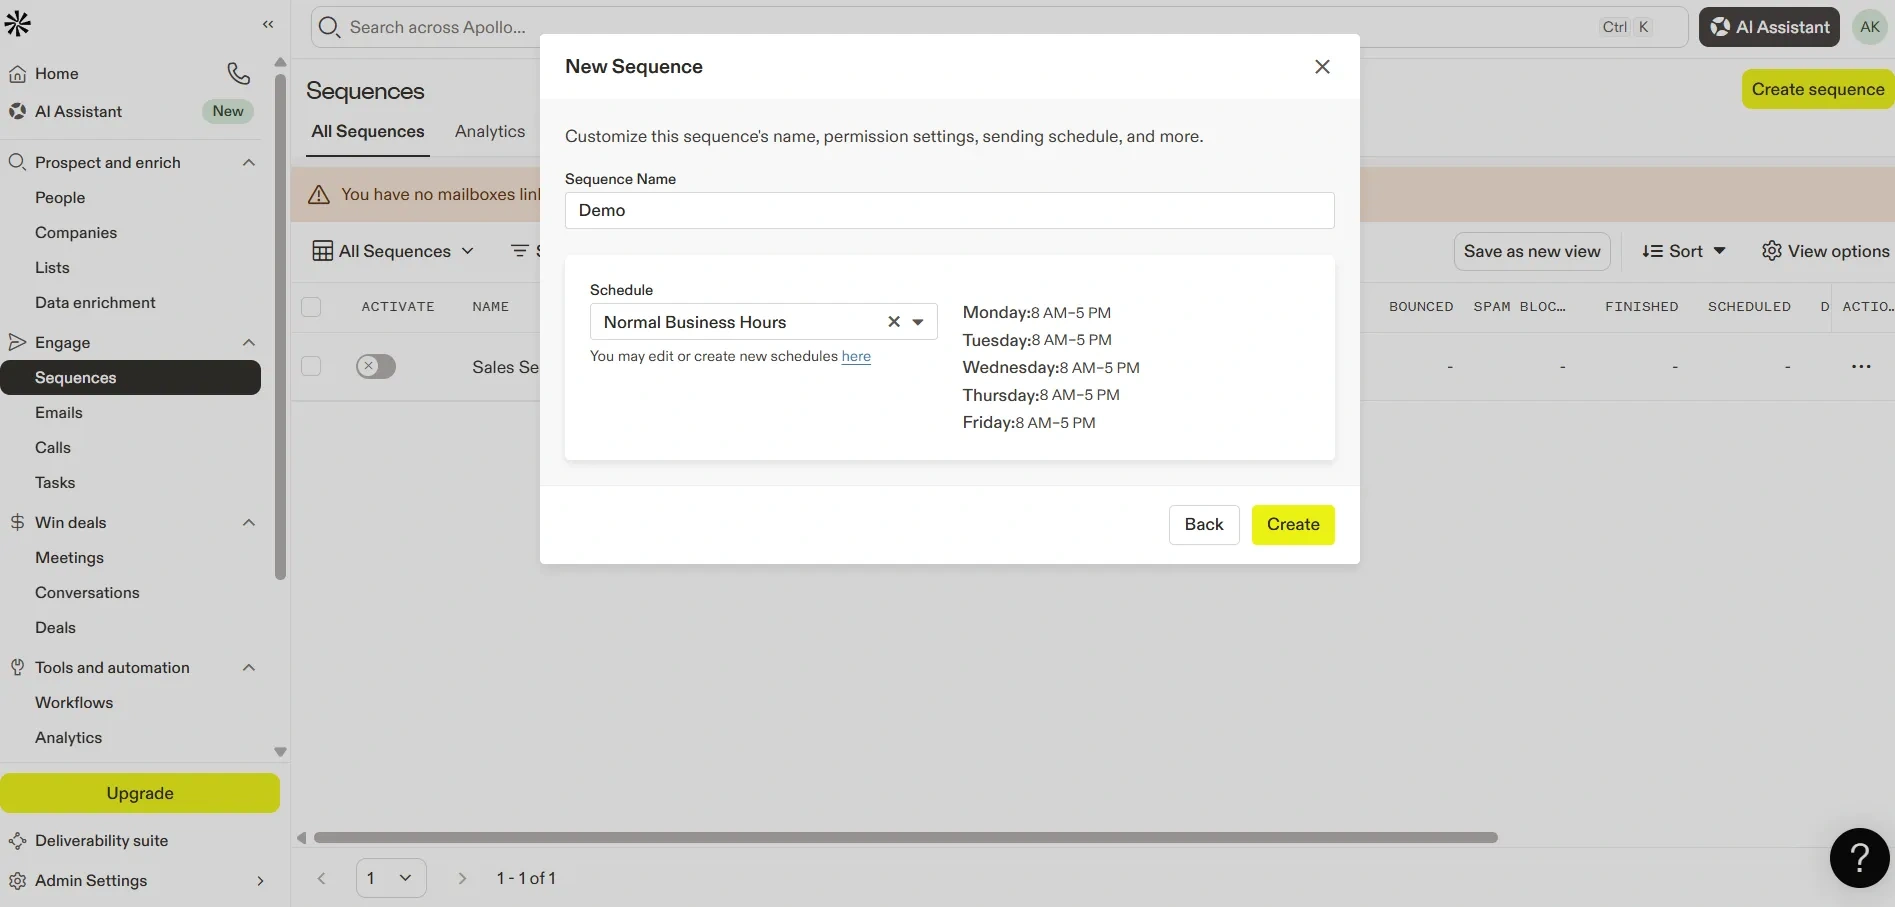
- Enter Sequence Name.
- Click Create.
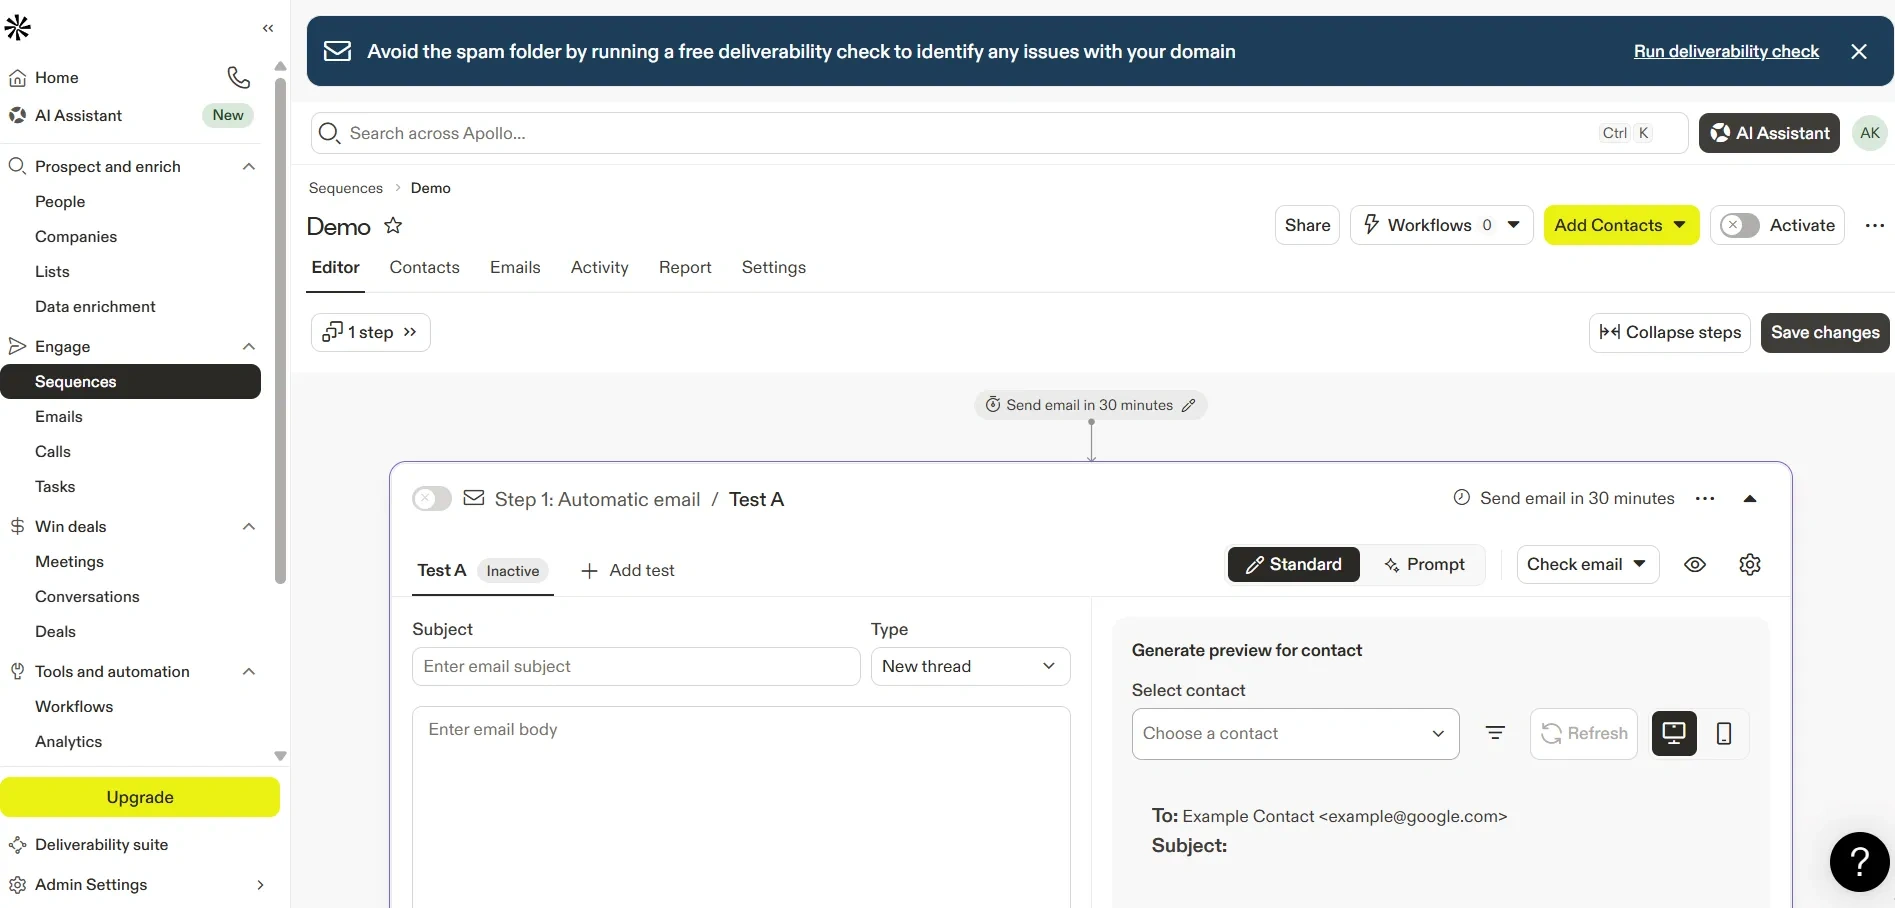
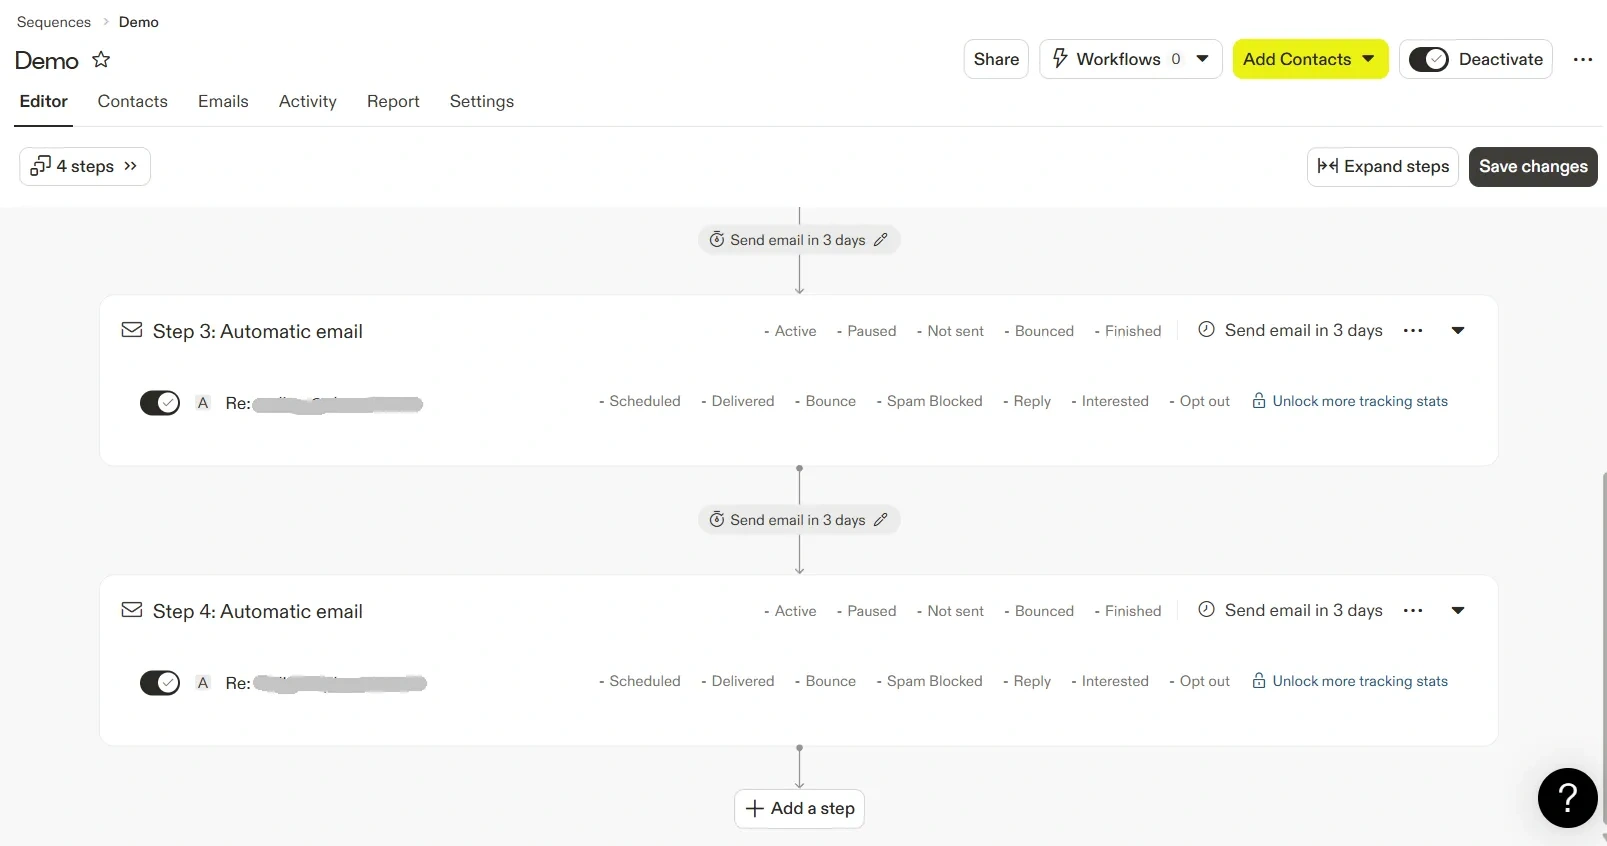
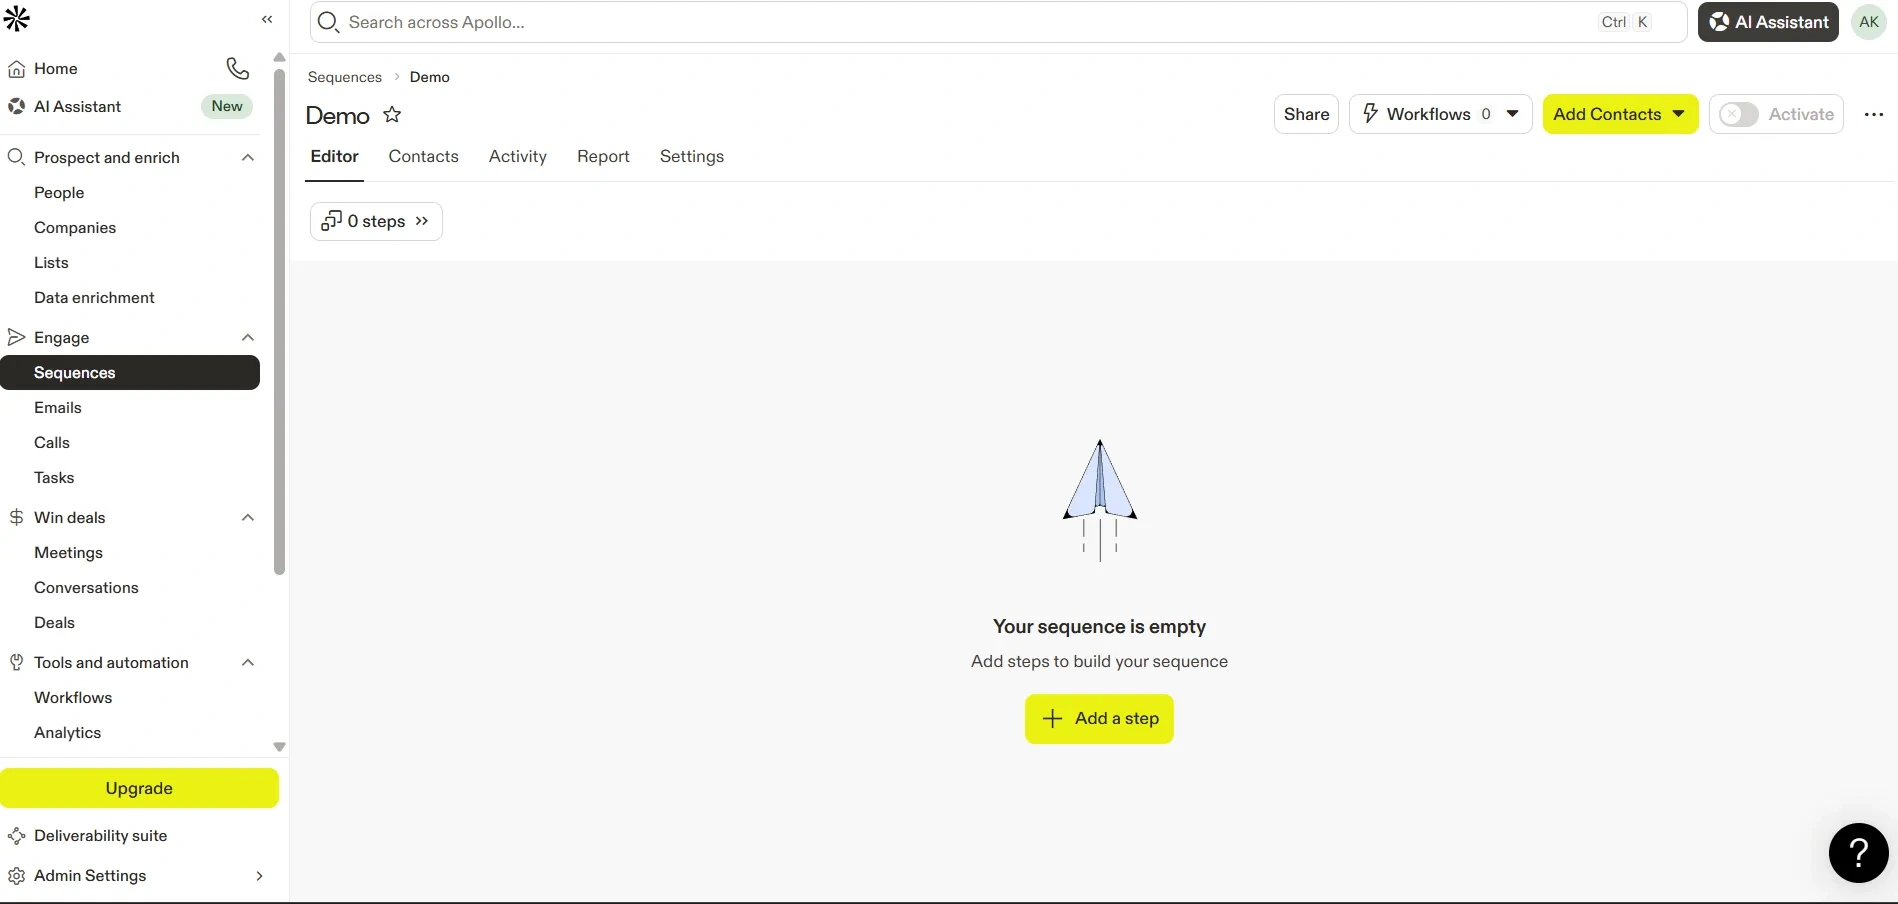
Step 2: Understand the Sequence Builder
After creating a sequence, you will see the sequence builder, where you can add steps.
Each step represents one action, such as-
- Sending an email
- Waiting for a few days
- Creating a follow-up task
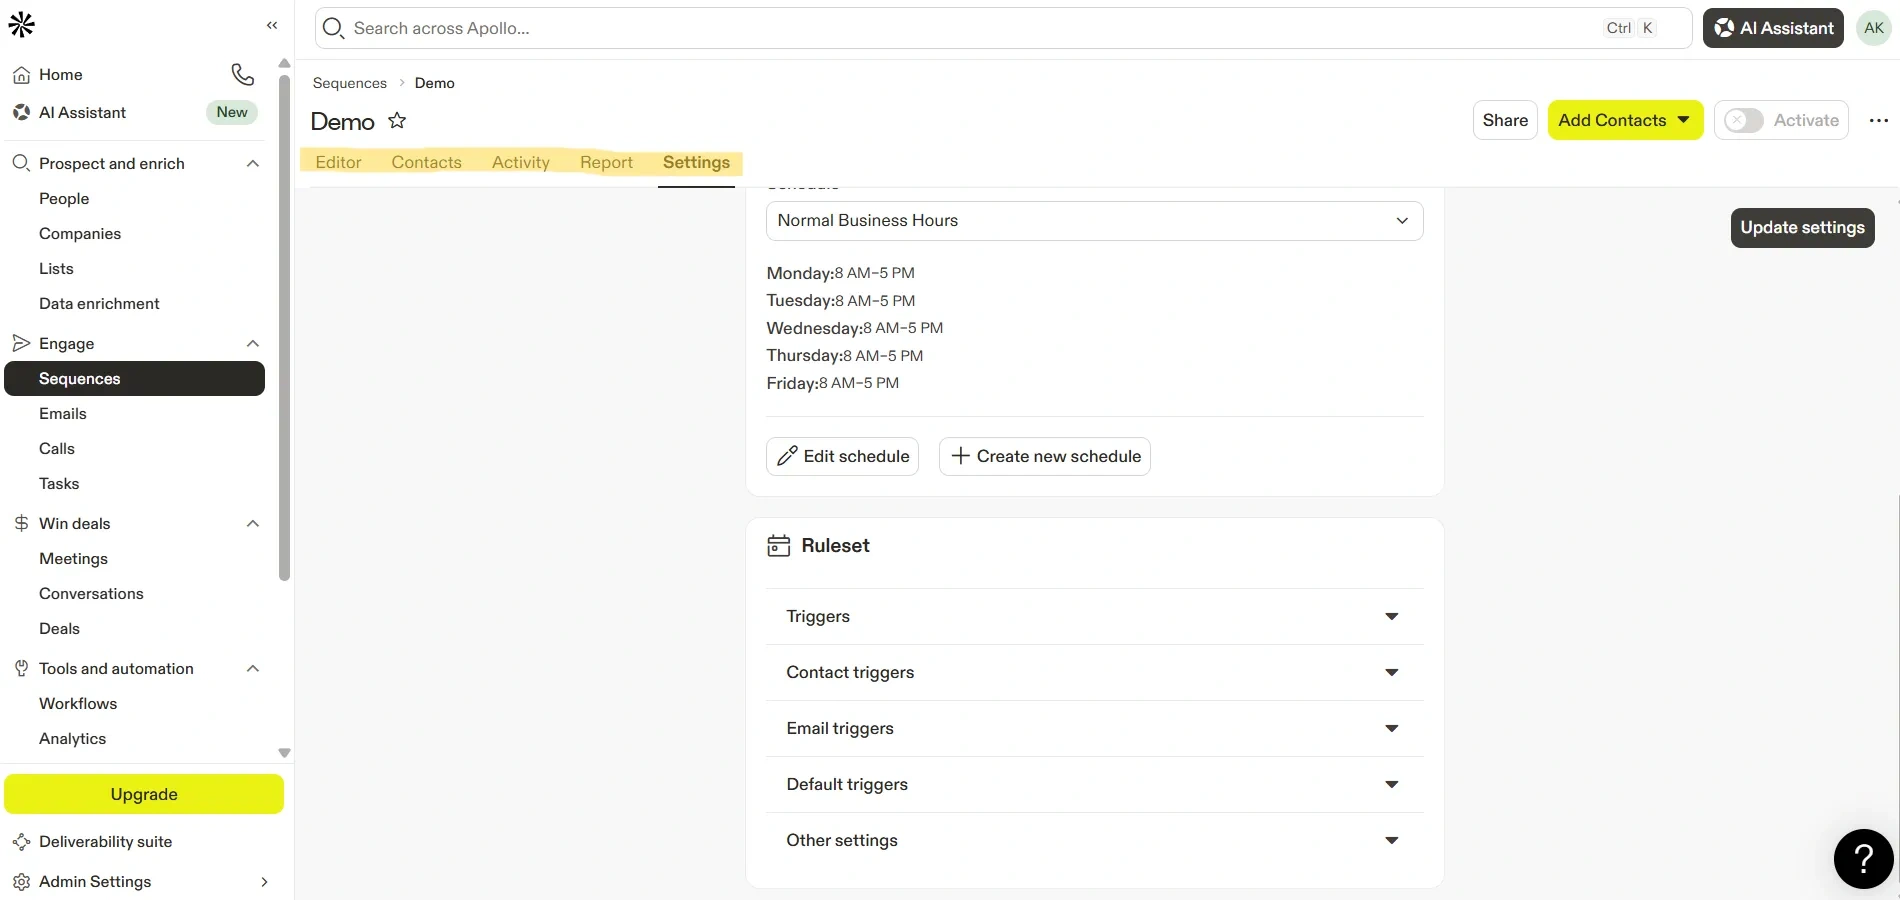
1. Editor Tab
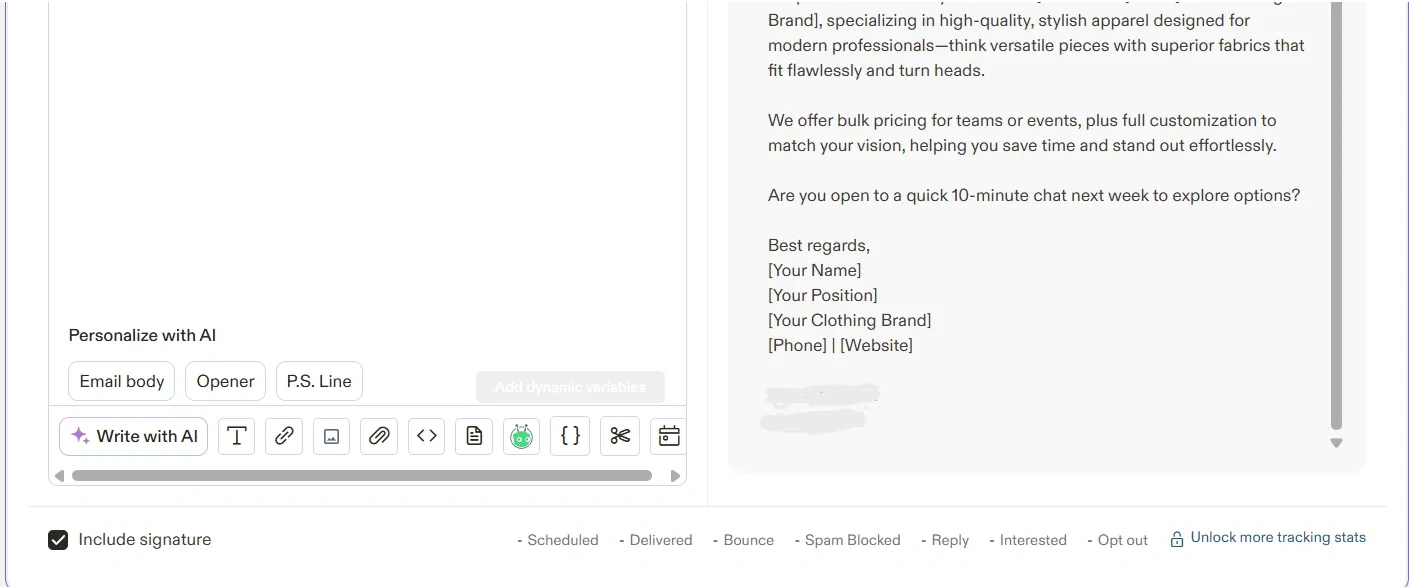
The Editor tab allows users to design the sequence workflow by adding emails and tasks with specific delays, helping automate follow-ups efficiently.
- Send Email
- Follow-up Email
- Call Task
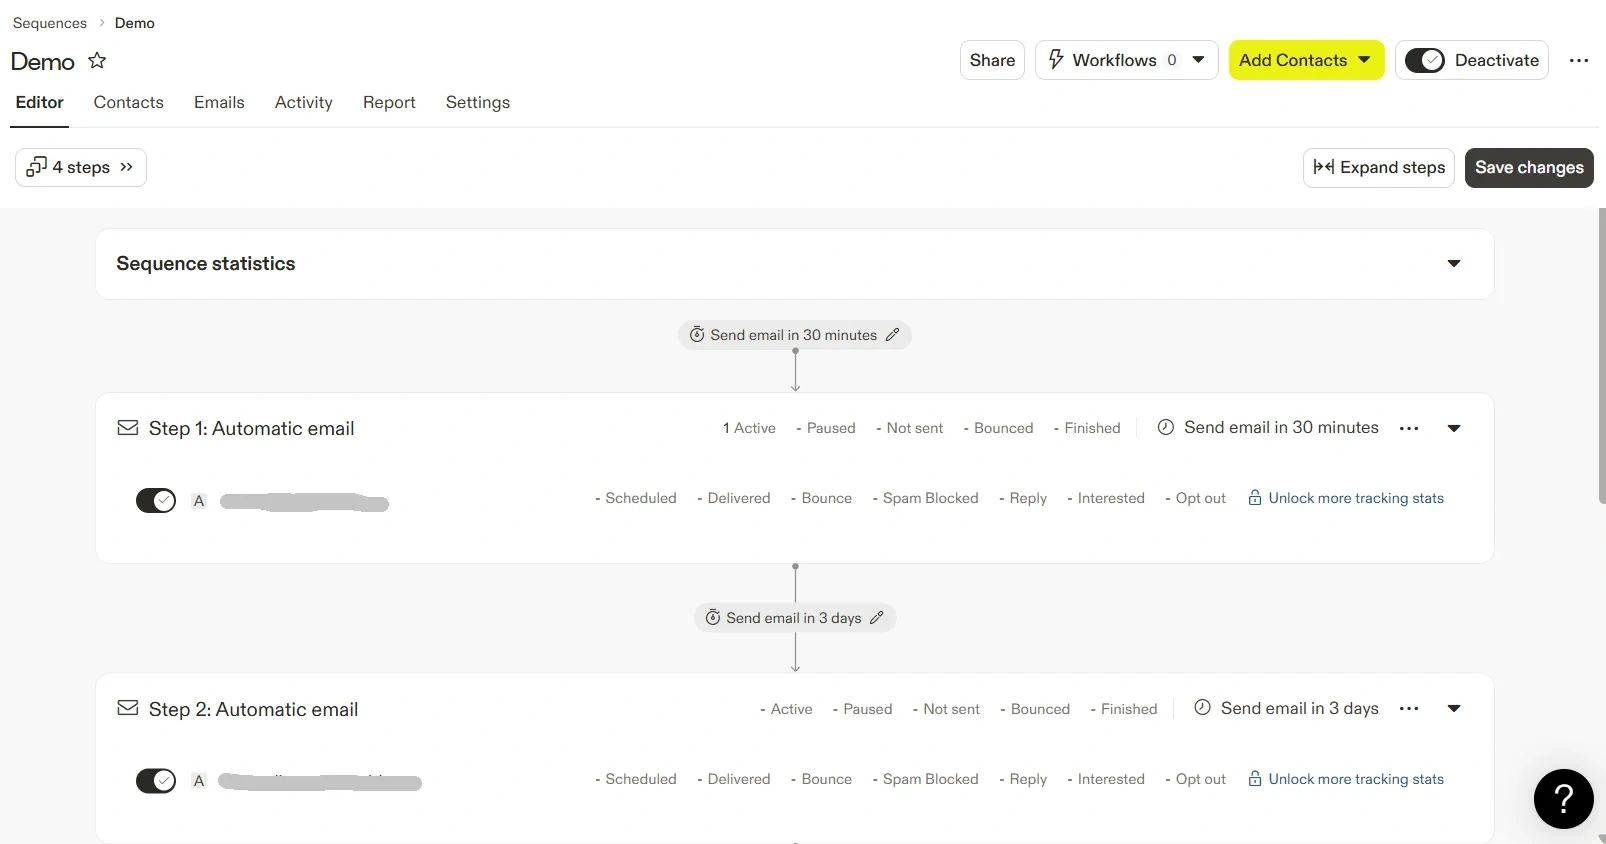
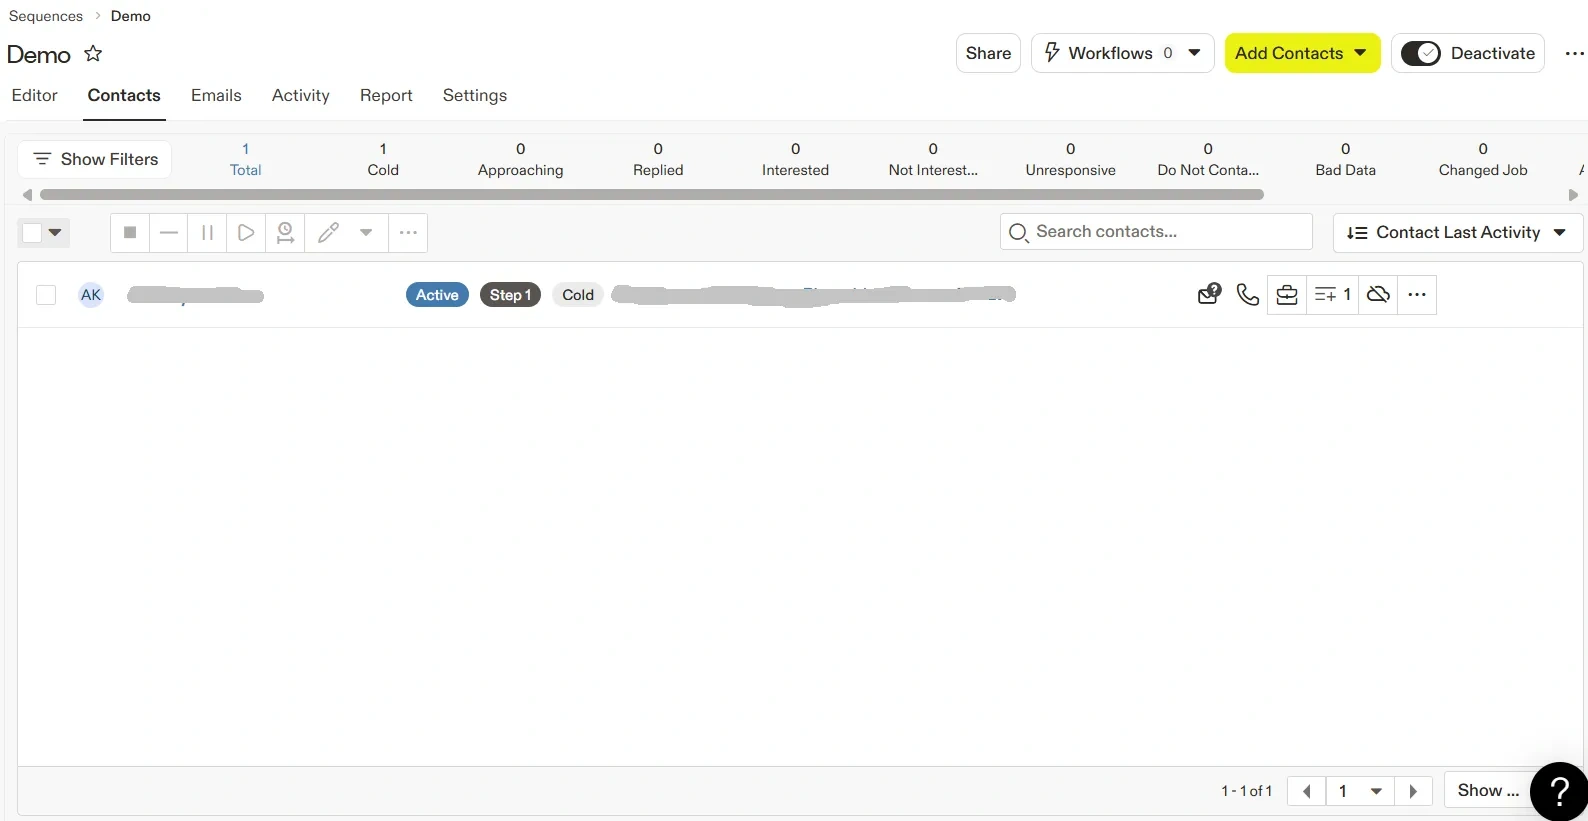
2. Contacts Tab
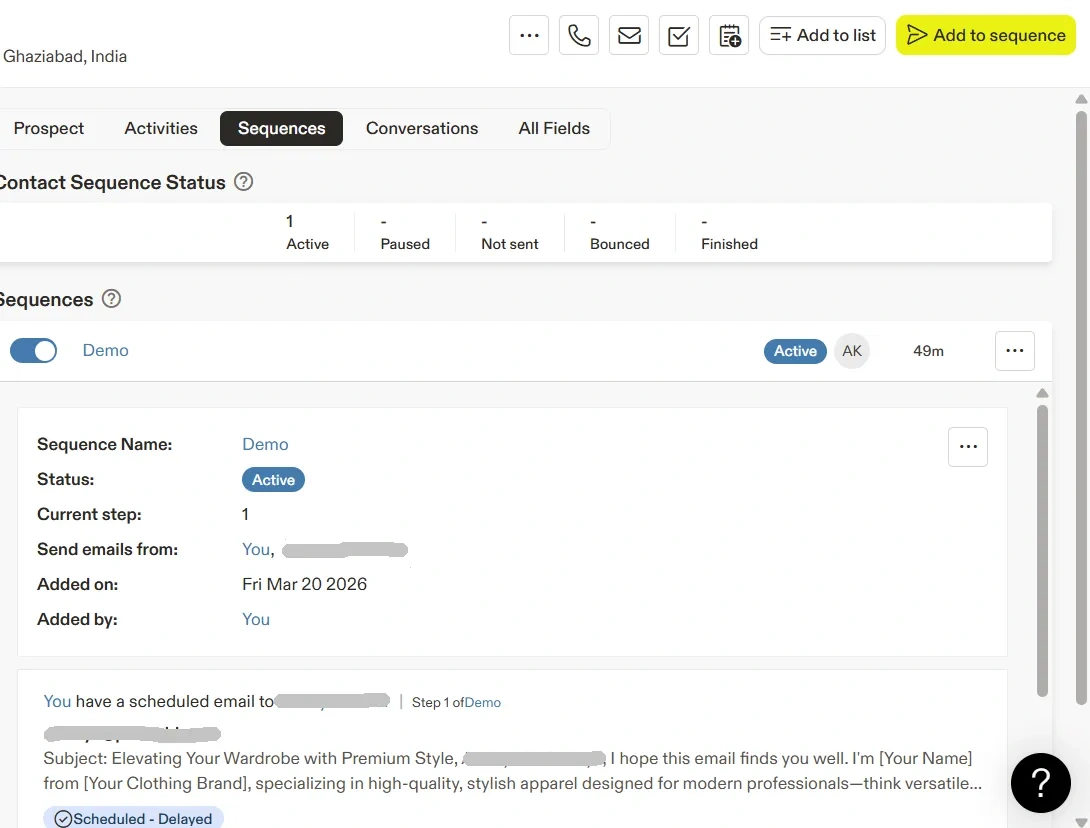
The Contacts tab displays all prospects added to the sequence and helps manage their participation.
- Add or remove contacts
- View contact details
- Check the contact’s current sequence step
3. Activity Tab
The Activity tab provides insights into prospect engagement by showing email opens, replies, and completed actions.
- Email sent
- Email opened
- Task completed